CHEF BRIAN SIROIS

Active Dry Yeast Pizza Dough

Active Dry Yeast Pizza Dough

Active Dry Yeast Pizza Dough

Pizza dough is an easy recipe that can easily be made far too difficult. There aren’t many ingredients and there aren’t many steps but still it can go sideways very quickly. This active dry yeast pizza dough recipe was made to end the confusion on exactly how much yeast and how much rest and rise time you need to make the perfect pizza crust at home.


Why Active Dry Yeast?

There are different options for yeast that are common for making pizza dough. Fresh, active dry yeast, and instant dry yeast. Let’s get into the differences.

Fresh Yeast– It looks intimidating but with a little trial and error you would get the hang of it. It has significantly more flavor and it is a bit more nutritional. It is highly perishable so it is not recommended for most home bakers unless you plan on doing a lot of baking in a short amount of time. 

Active Dry Yeast– Very easy to use, very easy to find, and has great shelf life. It takes longer than instant dry yeast but it does a bit better in pizza doughs because it typically is more extensible. It does need to be hydrated and fed to activate but if you are patient enough it is a great choice for pizza dough. 

Instant Yeast– Very easy to use and easy to find in a grocery store. It works the fastest of the three yeasts and it doesn’t need to be hydrated so you can mix it right into your dry ingredients. It is a touch less extensible than active dry yeast but the difference would be negligible for most. Instant also is more gaseous which leads to more air bubbles.

So then, why active dry yeast pizza dough? Fresh yeast is perishable and a bit more difficult to work with and instant yeast is gaseous and not as extensible as active dry yeast.

Blooming Active Dry Yeast
Dough ball Before Doubling

Do I Need to Knead?

Yes. Kneading changes the molecular structure of the gluten and making the pizza more chewy, light, and strong. Without kneading the pizza dough will be dense and eat more like bread. 


Dough Covered with Towel
Active Dry Yeast Pizza Dough

Stand Mixer Or By Hand?

Using a stand mixer is an easy way to get your dough ball started but the whole process can be done by hand. Using a dough hook from beginning to end sounds easy enough but it just doesn’t do as well as kneading by hand after the dough ball is formed. 

Making pizza dough is fun, roll up your sleeves and get your hands dirty.

Pizza Dough Split in 2
Pizza Dough Split in 2 After Resting

Pizza Time!

So let’s make this active dry yeast pizza dough! 

Start by pouring the warm water into the mixing bowl then add the honey and the active dry yeast. Allow the yeast to feed on the honey and bloom for ten minutes before adding any other ingredients. This allows the yeast to ferment which allows for the pizza dough to rise. 

Add the salt and the flour to the mixing bowl and while using a dough hook on a stand mixer, mix on low speed until the flour begins to pull into the water. Add olive oil to the bowl to make the dough and gluten less tough. Continue to mix until all of the flour is pulled into the water and a dough ball forms. 

Lightly flour your work surface and pour your dough ball onto the flour. Knead the dough ball for a few minutes to continue to work the gluten. If the dough ball is sticky you can add a bit more flour, if the dough ball is dry you can add a bit more water. 

Form a dough ball a place the dough ball back into the mixing bowl. Lightly coat the top of the dough ball with olive oil and then cover the mixing bowl with a kitchen towel. Allow the dough to rise for one hour. If it is winter, or if your house isn’t warm then put your oven to 250 degrees and place the mixing bowl on the stovetop. 

After an hour, the dough ball will have doubled in size. Pour the dough ball onto a flour surface.

You can either leave the pizza as is or if you want two medium pizzas you can cut the dough in half and form two dough balls. 

Generously coat the tops of the dough balls with flour and then cover with plastic wrap for three hours at room temperature. 

After three hours the dough will have doubled in size again and it will be completely ready to pound, stretch, and/or roll into pizzas. 

Preparation Options

Baking Sheet Pizza Before
Baking Sheet Pizza After

The active dry yeast pizza dough pizza above was pounded and stretched and placed on a lightly oiled half sheet pan. It was then covered with ground tomatoes, oregano, salt, and black pepper, parmesan cheese, and shredded mozzarella. 

Cast Iron Pizza Before
Cast Iron Pizza After

The active dry yeast pizza dough pizza above was pounded and placed into a lightly oiled cast iron skillet. It was then covered with ground tomatoes, oregano, salt, and black pepper, parmesan cheese, and shredded mozzarella. 

Both pizzas came out great, the sheet pan pizza was a bit more thin than the cast iron pizza but they were both crispy, chewy, and full of flavor. These would’ve been even better on a pizza stone and ten times better on the grill or in a wood fired oven. Obviously, add whatever toppings you like this recipes is the most basic of the basic.

Thanks for checking out this active dry yeast pizza dough recipe, let us know how it turned out for you in the comment section and be sure to check out the other recipes on BrianSirois.com!

Active Dry Yeast Pizza Dough

Active Dry Yeast Pizza Dough

Homemade pizza dough using active dry yeast.
Prep Time 5 hours 15 minutes
Course Main Course
Cuisine American, Italian
Servings 6
Calories 560 kcal

Ingredients
  

  • 2.5 cups All Purpose Flour Plus More for Stretching/Pounding/Rolling
  • 1 cup Warm Water 105 Degrees Fahrenheit
  • 1 tbsp Honey or Sugar
  • 1 tbsp Olive Oil Herb Infused if Available
  • 1 tsp Kosher Salt
  • 1 tsp Active Dry Yeast

Instructions
 

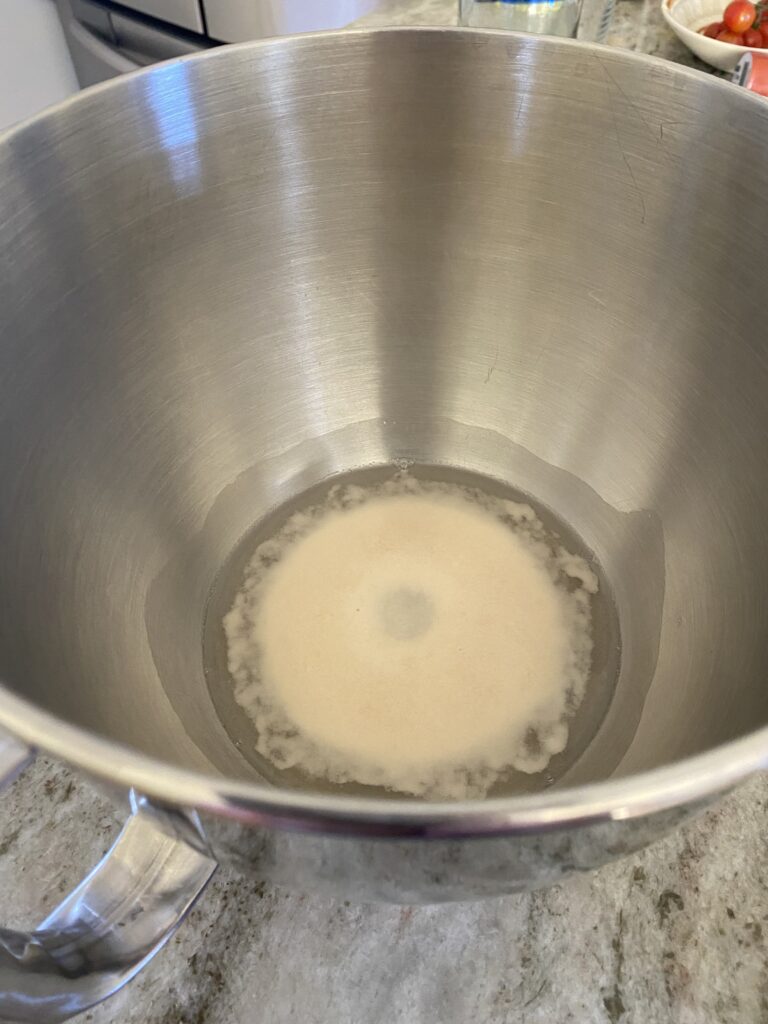
  • In a mixing bowl, combine warm water, honey, and active dry yeast and stir together. Let the yeast bloom for ten minutes.
  • In a separate mixing bowl, add flour and salt.
  • Add the flour and salt to the warm water mixing bowl.
  • Using a stand mixer with a dough hook attachment on low speed, mix the wet and dry ingredients together.
  • While the dough is being mixed add the olive oil to the bowl.
  • Continue to mix on low speed until the dough hook pulls most of the flour into the dough.
  • Turn off the mixer, remove the dough hook, and pour your dough onto a floured surface.
  • Knead the dough with your hands until all of the flour is incorporated into the dough.
  • If your dough is still sticky use a bit more flour, if it feels too dry add a touch of water.
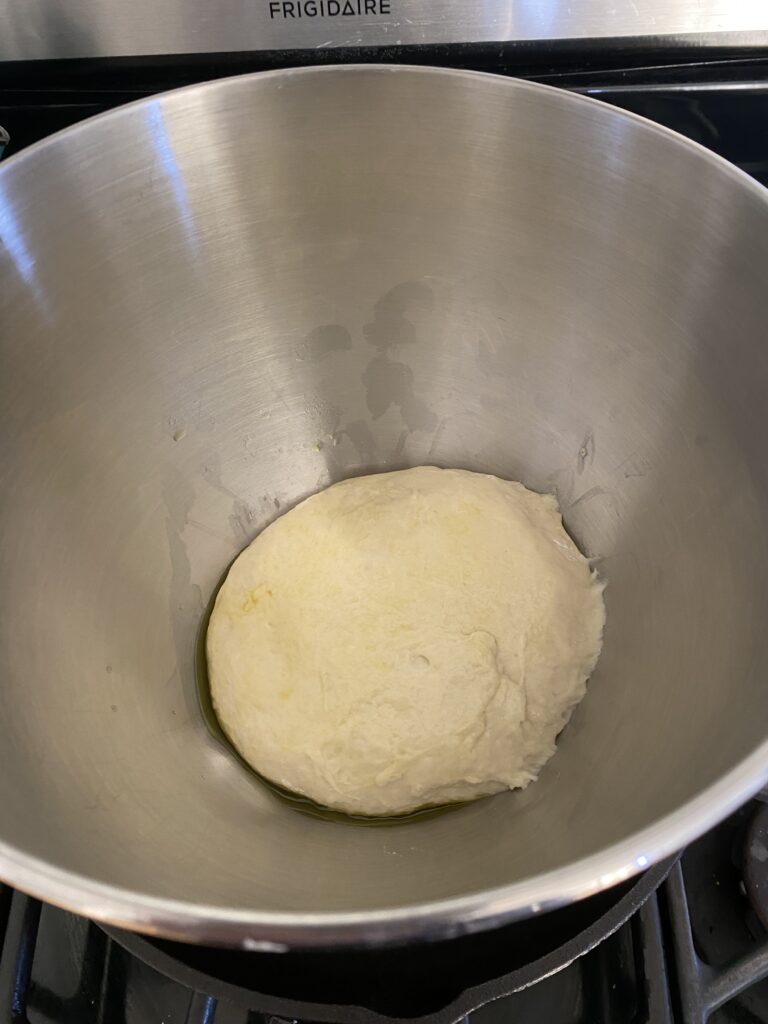
  • Form the dough into a ball as best as you can and then place back into the mixing bowl.
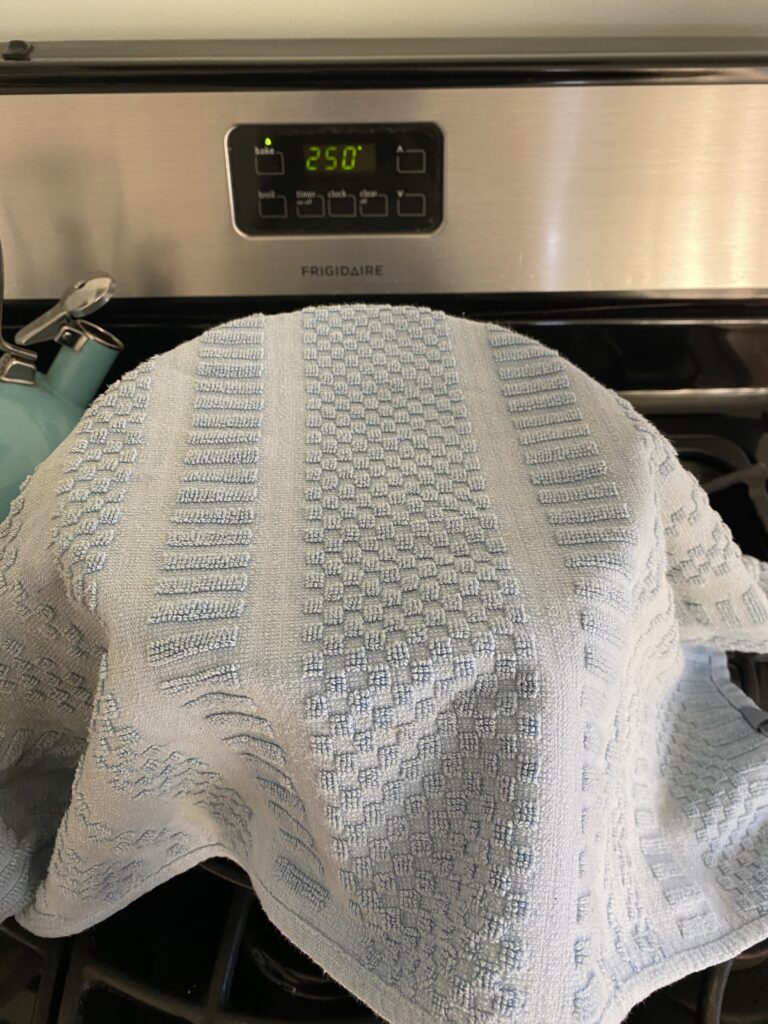
  • Lightly coat the dough ball with olive oil and then cover with a kitchen towel.
  • Place the dough in a warm area. If your house is cold you can set your oven to 250 degrees and place the bowl with the dough on the stovetop.
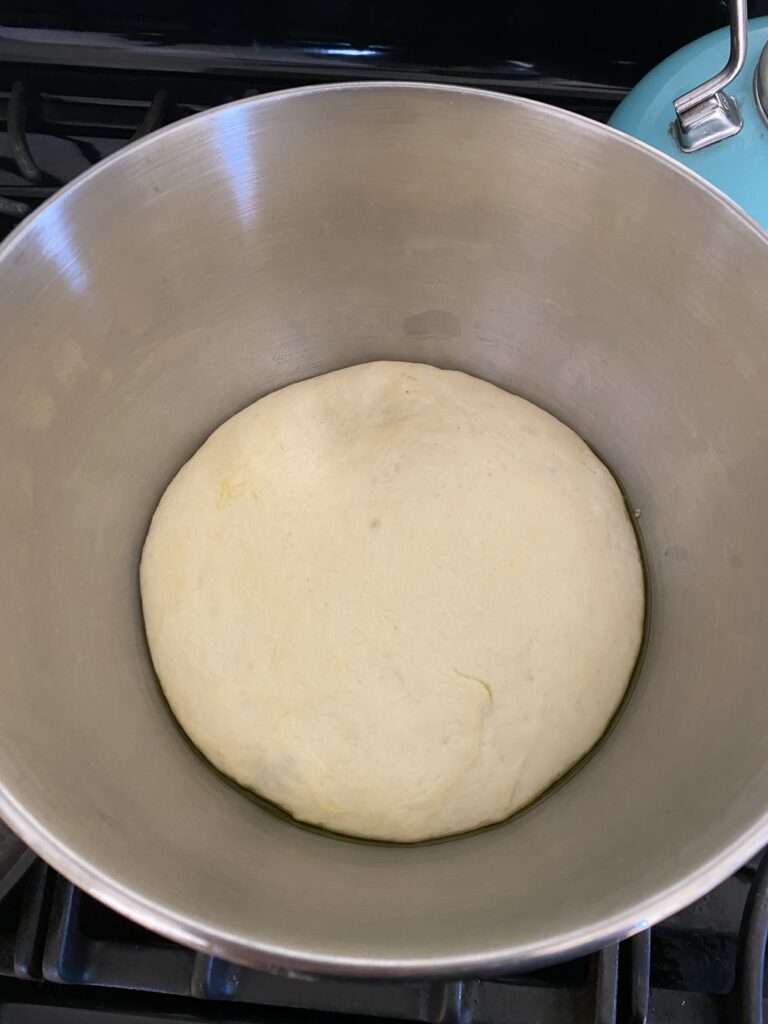
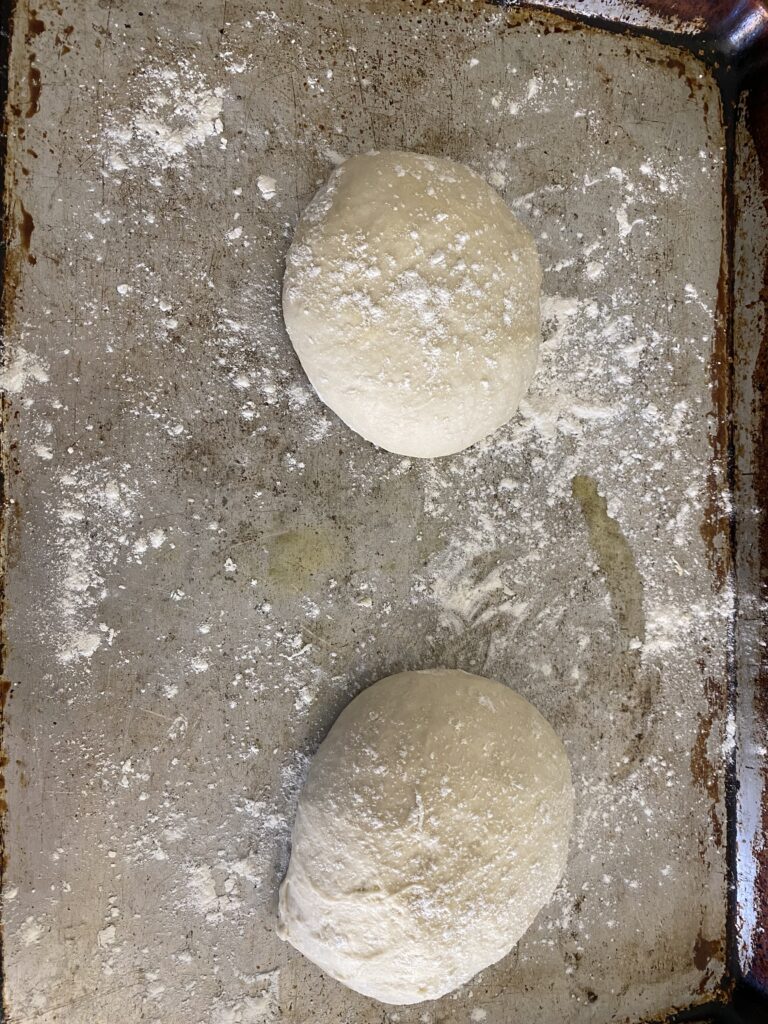
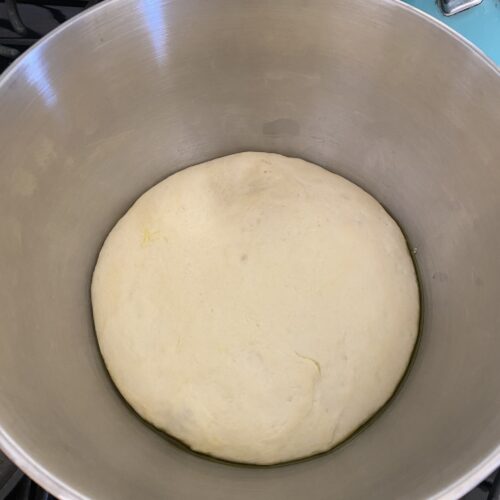
  • After one hour your dough ball will have doubled in size. Pour it onto a lightly flour surface, cut it in half, and form into two dough balls if you want two thin crust medium sized pizzas. If you want just one large pizza then don't cut the dough.
  • Flour the surface of the dough ball and cover it with plastic wrap.
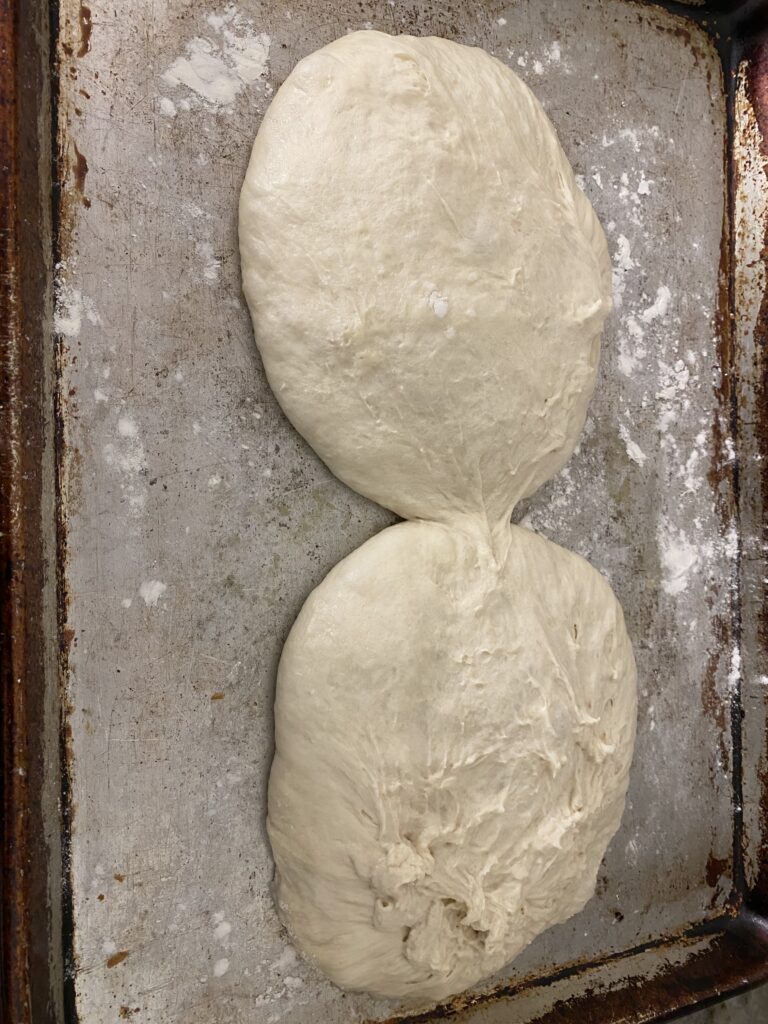
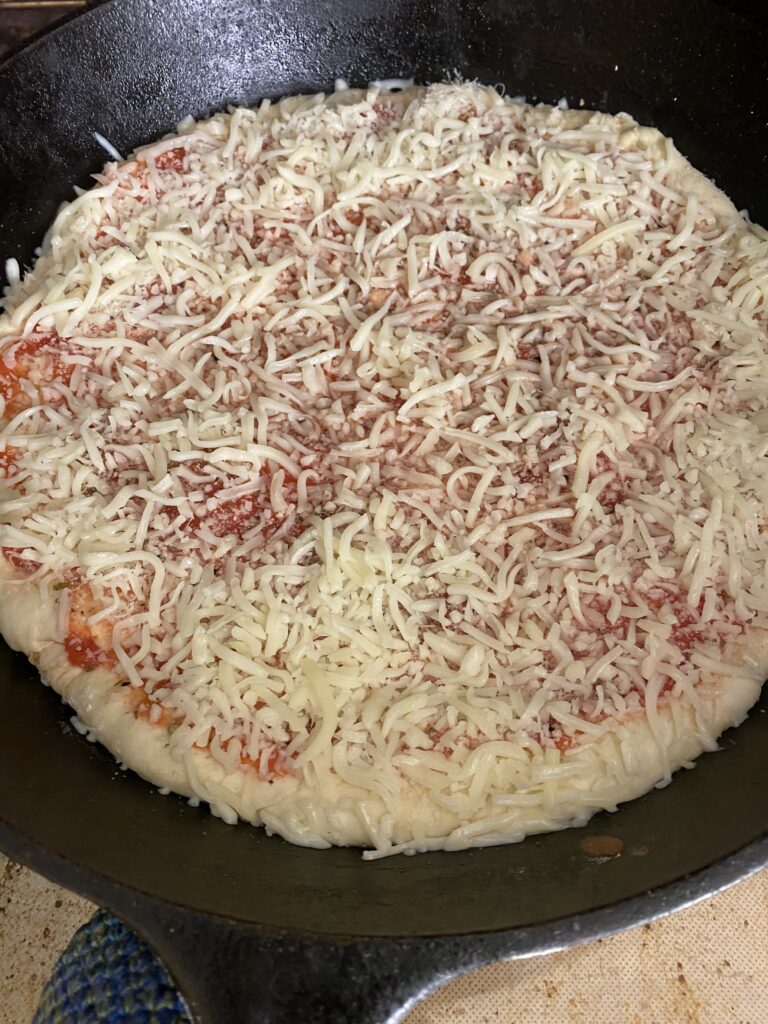
  • After three hours your dough will have doubled in size again and it will be ready to pound, stretch, and/or roll out on a floured surface.
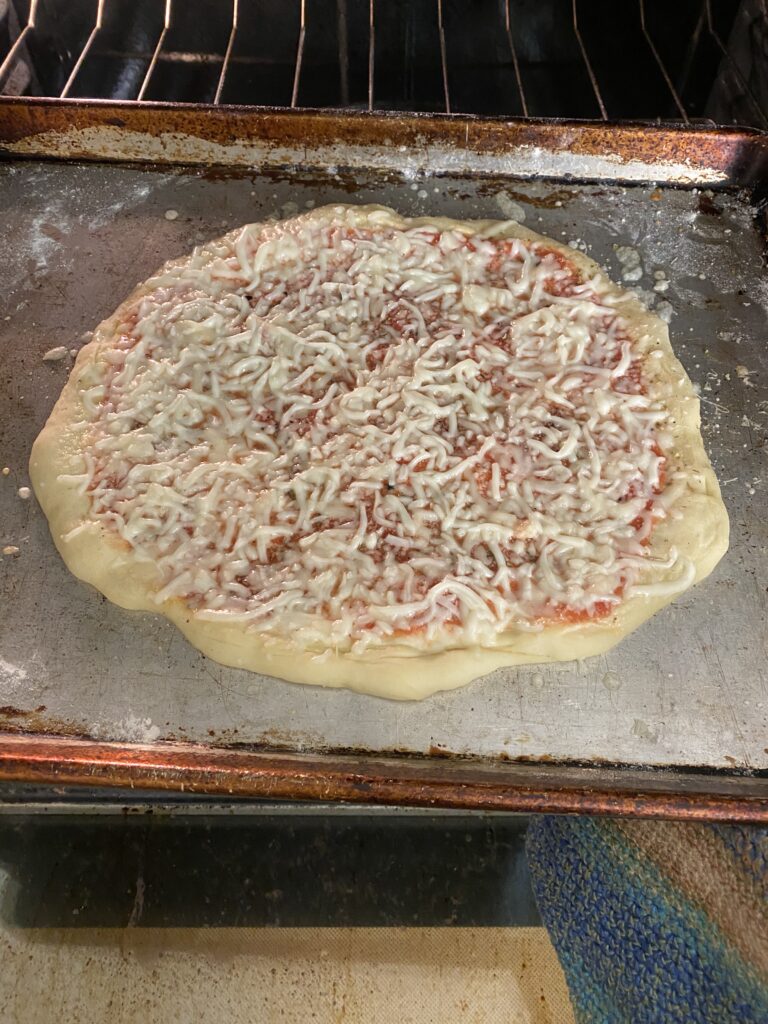
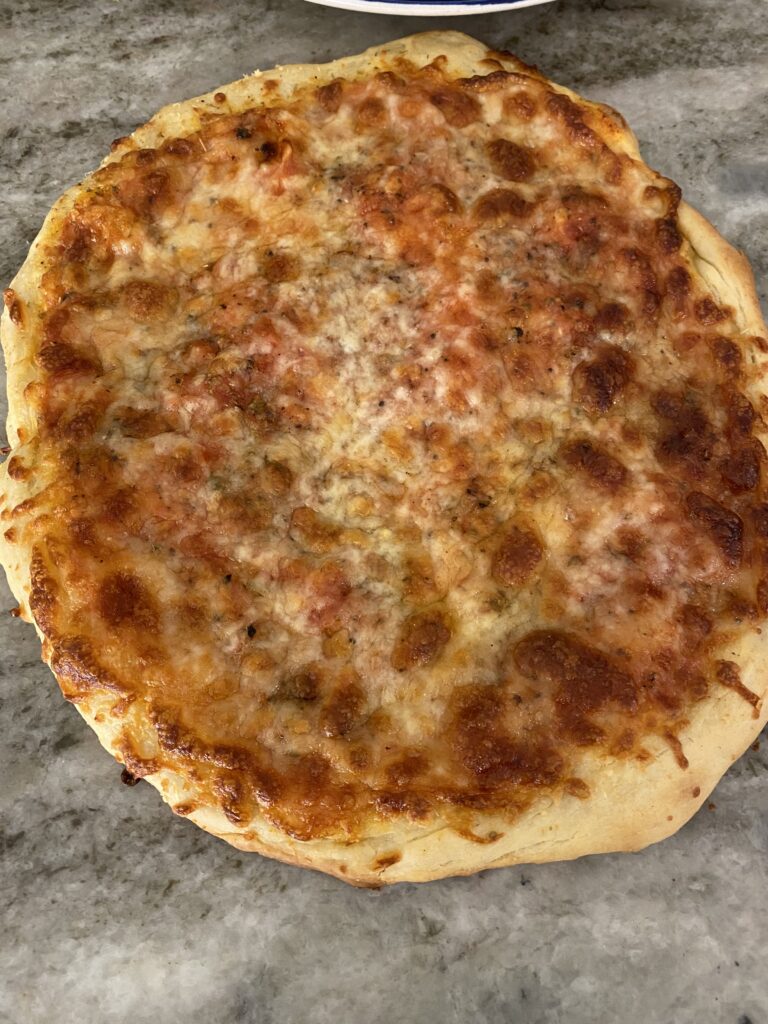
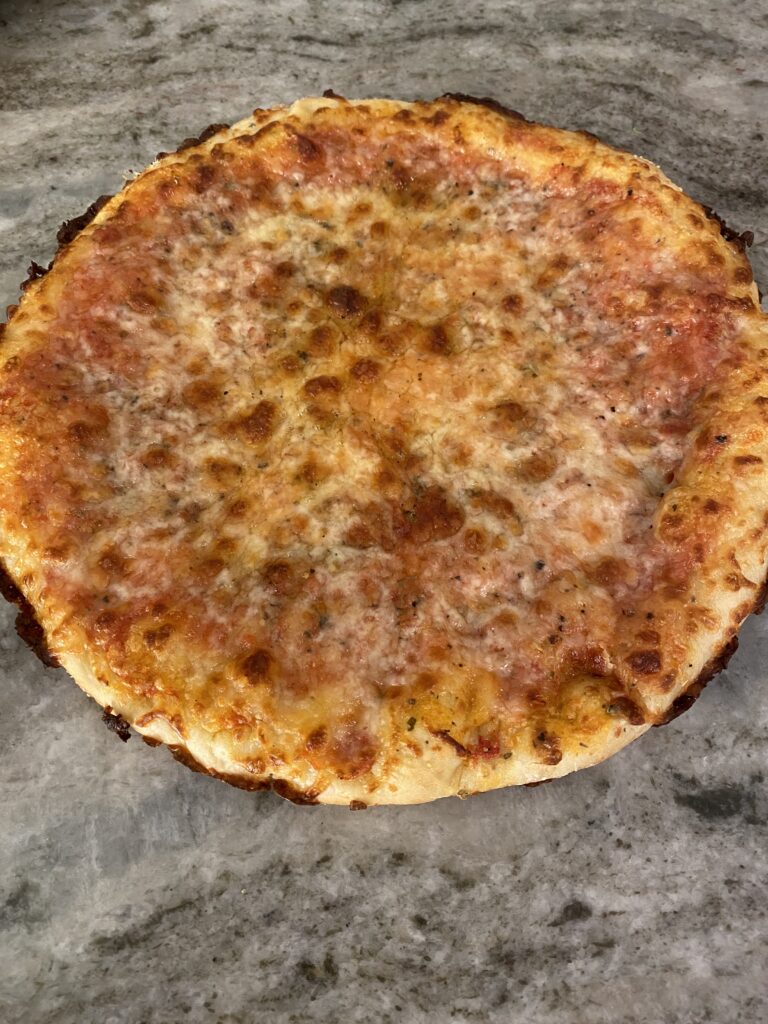
  • Add whatever sauce and toppings you like and cook your pizza at 500 degrees for about 15 minutes, or until your cheese is bubbling and starting to brown and your crust is browned and crispy.
Keyword active dry yeast pizza, easy pizza dough, homemade pizza dough, pizza dough recipe